
ZeroTier的安装和使用

ZeroTier的安装和使用
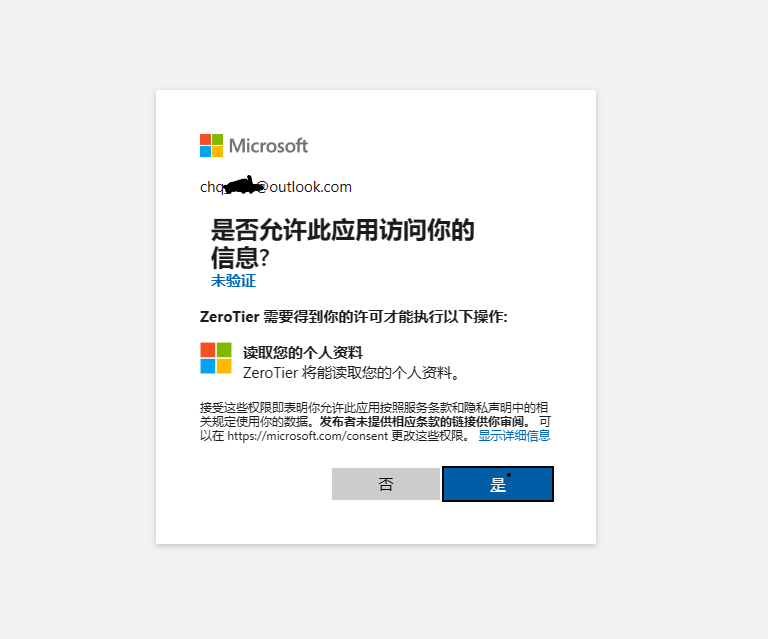
一、注册zerotier账号
**打开网站:**https://my.zerotier.com/

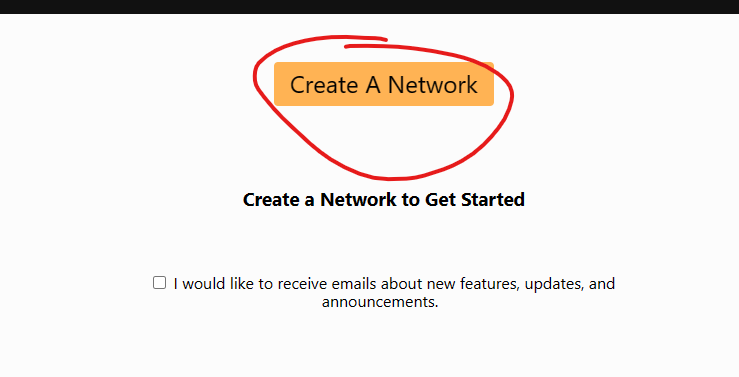

得到创建好的“NETWORK ID”。
二、安装客户端
2.1 第一台设备:我的笔记本电脑
**下载:**https://www.zerotier.com/download/
安装完成后,在开始屏幕可以看到
双击打开,然后打开桌面右下角图标
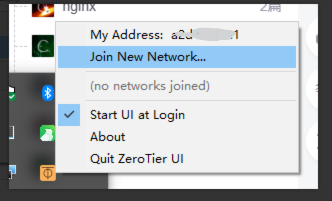
加入网络,填写在官网创建的网络号

勾选认证框,打钩代表认证通过

2.2 第二台设备:我的家庭服务器
执行安装命令
curl -s https://install.zerotier.com | sudo bash
root@chq-ubuntu:~# curl -s https://install.zerotier.com | sudo bash

*** ZeroTier Service Quick Install for Unix-like Systems

.......

*** Success! You are ZeroTier address [ 4b5******* ].

root@chq-ubuntu:~# root@chq-ubuntu:~# zerotier-cli join c7c8172af1c65a81
200 join OK
root@chq-ubuntu:~#
ZeroTier One version 1.10.6 build 0 (platform 1 arch 2)
Copyright (c) 2020 ZeroTier, Inc.
Licensed under the ZeroTier BSL 1.1 (see LICENSE.txt)
Usage: zerotier-cli [-switches] <command/path> [<args>]

Available switches:
-h                      - Display this help
-v                      - Show version
-j                      - Display full raw JSON output
-D<path>                - ZeroTier home path for parameter auto-detect
-p<port>                - HTTP port (default: auto)
-T<token>               - Authentication token (default: auto)

Available commands:
info                    - Display status info
listpeers               - List all peers
peers                   - List all peers (prettier)
listnetworks            - List all networks
join <network ID>          - Join a network
leave <network ID>         - Leave a network
set <network ID> <setting> - Set a network setting
get <network ID> <setting> - Get a network setting
listmoons               - List moons (federated root sets)
orbit <world ID> <seed> - Join a moon via any member root
deorbit <world ID>      - Leave a moon
dump                    - Debug settings dump for support

Available settings:
Settings to use with [get/set] may include property names from
the JSON output of "zerotier-cli -j listnetworks". Additionally,
(ip, ip4, ip6, ip6plane, and ip6prefix can be used). For instance:
zerotier-cli get <network ID> ip6plane will return the 6PLANE address
assigned to this node.
root@chq-ubuntu:~#
加入网络
root@chq-ubuntu:~# zerotier-cli join c7cxxxxxxxx
200 join OK
root@chq-ubuntu:~#
勾选使其通过授权

列出加入的服务器
root@chq-ubuntu:~# zerotier-cli listnetworks
200 listnetworks <nwid> <name> <mac> <status> <type> <dev> <ZT assigned ips>
200 listnetworks c7c817xxxxxx serene_engressia 82:11:xxxx OK PRIVATE ztxxx 172.xxxx/16
root@chq-ubuntu:~#
其他命令
zerotier-cli join Network ID  --加入网络
zerotier-cli leave Network ID  --离开网络
zerotier-cli listnetworks  --列出网络状态
2.3 局域网组建成功
左边是“局域网固定ip”,右边是“机器真实ip”

ping一下是通的

三、搭建自己的Moon节点
3.1 服务端(推荐使用docker容器,更简单)
登陆自己的云服务器(我用的腾讯的),执行安装命令
curl -s https://install.zerotier.com | sudo bash
打开目录“ /var/lib/zerotier-one ”
cd /var/lib/zerotier-one
构建moon.json
zerotier-idtool initmoon identity.public >>moon.json
修改moon.json,向stableEndpoints值中添加"自己的公网ip/9993"
(9993是端口,需要在云服务器的防火墙中放行该端口:****TCP和UDP)
cat moon.json

生成签名,得到“000000db3exxxx.moon”签名文件
sudo zerotier-idtool genmoon moon.json
移动签名文文件到moons.d目录
mkdir moons.d
mv 000000db3exxxx.moon moons.d/
重启服务
service zerotier-one restart
3.2 客户端
#linux
方式1:
执行命令
//加入moons
zerotier-cli orbit db3ef8xxxx db3ef8xxxx
//重启服务
service zerotier-one restart
方式2:
在/var/lib/zerotier-one目录下,创建moons.d文件夹,
cd /var/lib/zerotier-one
mkdir moons.d
将服务端的“000000db3exxxx.moon”移入客户端的moons.d文件夹下
重启服务
service zerotier-one restart
#windows
方式1:
执行命令
//加入moons

zerotier-cli orbit db3ef8xxxx db3ef8xxxx
方式2:
在C:\ProgramData\ZeroTier\One 目录下,创建moons.d文件夹,
将服务端的“000000db3exxxx.moon”移入客户端的moons.d文件夹下
打开任务管理器,重启“ZeroTier One”服务
#测试是否成功
使用“zerotier-cli listpeers”测试是否成功,MOON节点有ip才算成功。

以下可能解决MOON节点无ip的问题
(1)重启服务,多等一会儿
3.3 对比
3.3.1 无moon节点前
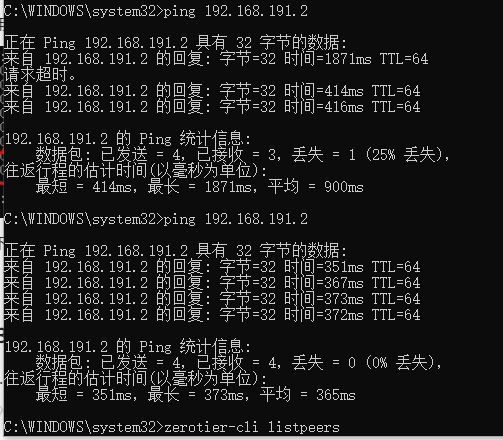
3.3.2 有moon节点后(延迟变低,且稳定)

四、参考文章
官方文档
https://zerotier.atlassian.net/wiki/spaces/SD/pages/8454145/Getting+Started+with+ZeroTier
安装
https://blog.csdn.net/fangzhenshi123/article/details/118973814
moon无ip
https://blog.csdn.net/yyywxk/article/details/104539560
